
This guide helps your team get more value from TurboHelp's Settings tools. Use it to understand the feature, configure it correctly, and know what to check before relying on it in your daily support workflow.
At a Glance
Use settings to shape TurboHelp around your team's support process, brand, and security needs.
Document meaningful changes so admins can understand why each option was configured.
Test customer-facing changes in a staging or low-risk environment when possible.
The General settings page contains options for applying your own branding (whitelabeling) as well as changing default homepage type and generating a sitemap.
To get started, navigate to Admin > Settings > General from the sidebar.
Core Site Identity
These settings define the fundamental details of your help desk.
Site URL: This is the primary web address (domain) where your TurboHelp instance is located, for example,
https://support.yourcompany.com. It will be automatically entered during installation and should only be changed if you move TurboHelp to a different domain. See Primary Site URL article for how to change it.Site Name: The name you enter here will appear in browser tabs, search engine results, and other areas throughout the application. This should be your company or product name.
Favicon: This is the small icon that appears in the browser tab next to your site name. For best results, upload a square image that is at least
512x512pixels.
Branding and Logos
This section is key for whitelabeling the platform with your brand's visual identity. Here you can replace all default TurboHelp logos with your own.
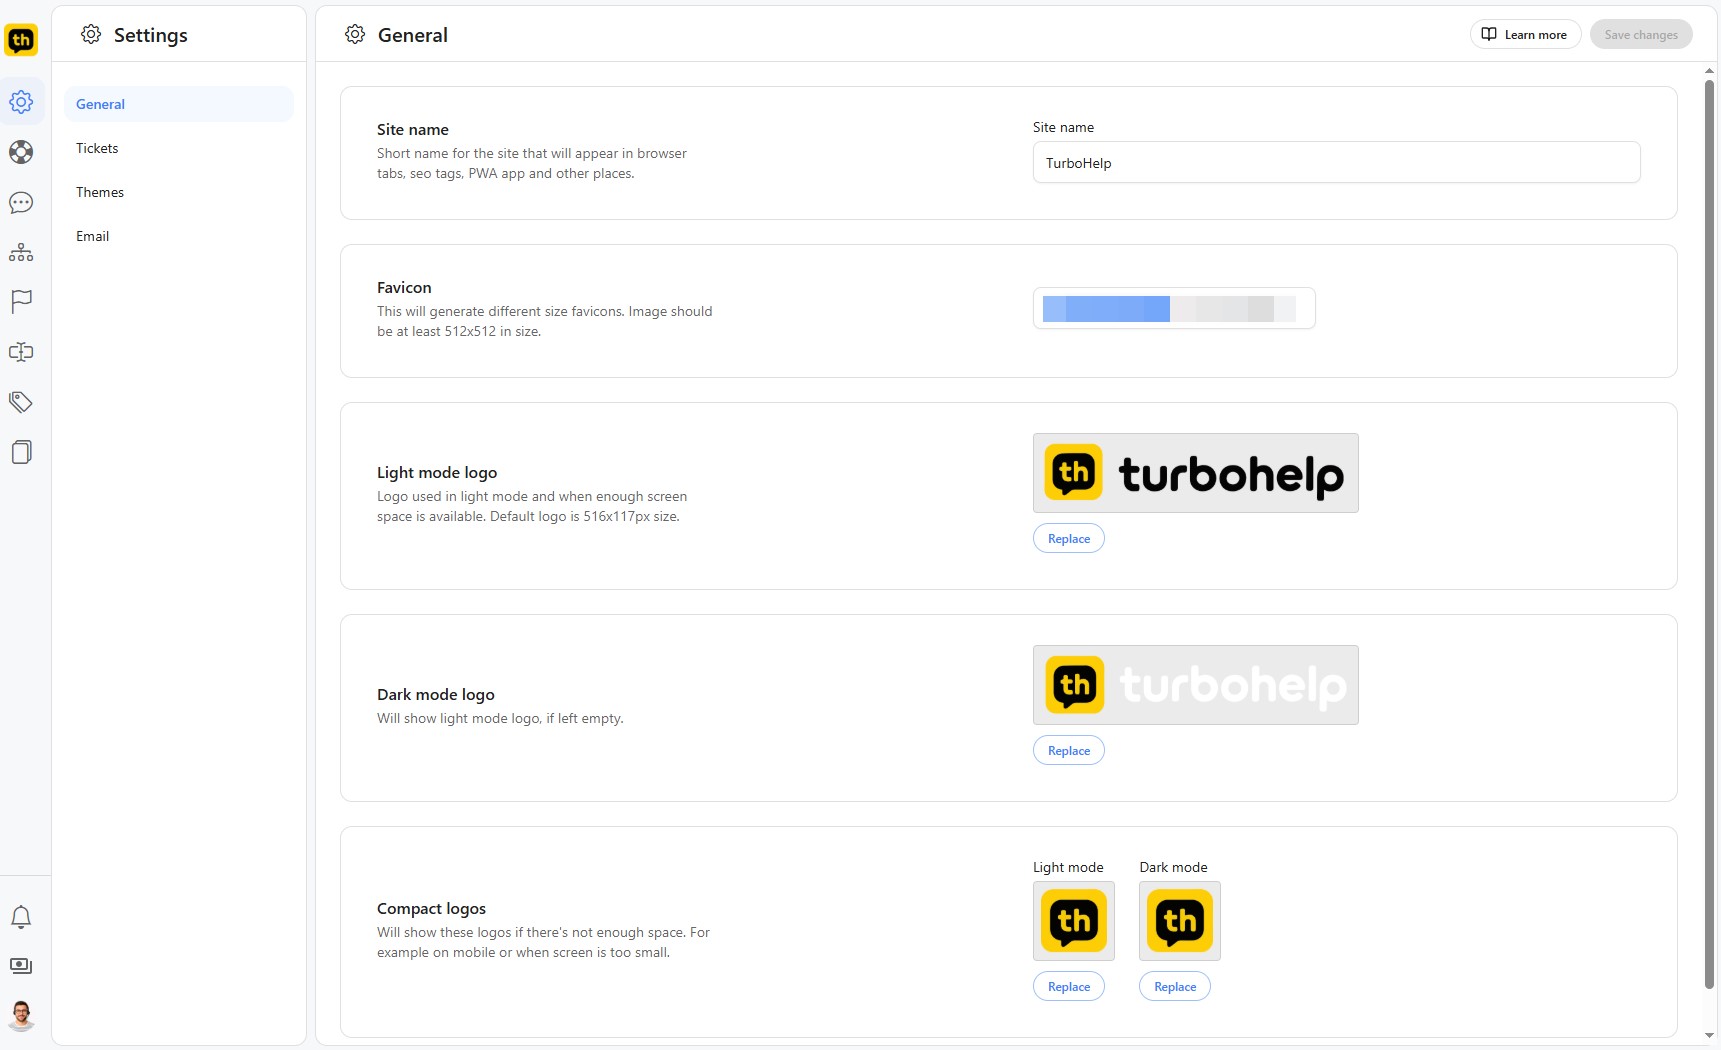
Light Mode Logo: This is the primary logo that will be displayed when TurboHelp is viewed in light mode. Default logo is
516x117pixels.Dark Mode Logo: Upload a version of your logo that is optimized for dark backgrounds. If this is left empty, the light mode logo will be used by default.
Compact Logos: These are smaller, often square or icon-only versions of your logo. They are used in areas where space is limited, such as on mobile devices or in condensed navigation bars. Be sure to upload versions for both light and dark modes.
Tip: You can modify site colors from Admin > Settings > Themes page.
Homepage Configuration
This setting lets you control what users see when they first navigate to your main URL.
You can choose one of the following options from the Site home page dropdown menu:
Landing Page: The default, help center landing page.
Login Page: This option sends visitors directly to the login form. It's ideal if your help center is private or primarily used by existing customers.
Registration Page: Use this to direct new visitors straight to the account sign-up page.
Custom Page: Select a page you have built under the
Pagessection of the admin area. This gives you complete control to create a fully customized welcome experience for your users.
Search Engine Optimization (SEO)
This section helps improve your help center's visibility in search engines like Google.
Sitemap: A sitemap is a file that lists all the pages on your site, making it easier for search engines to discover and index your content. Click Generate sitemap to create this file. Once generated, the URL to your sitemap will be displayed, which you can then submit to search engine webmaster tools.
Tip: Currently sitemap will only include help center and custom pages.
After configuring these settings to your liking, remember to click the Save changes button in the top-right corner to apply them.
Best Practices
Change one major setting at a time and verify the result.
Keep admin-only settings limited to trusted users.
Revisit settings after product, policy, or brand changes.