
This guide helps your team get more value from TurboHelp's Settings tools. Use it to understand the feature, configure it correctly, and know what to check before relying on it in your daily support workflow.
At a Glance
Use settings to shape TurboHelp around your team's support process, brand, and security needs.
Document meaningful changes so admins can understand why each option was configured.
Test customer-facing changes in a staging or low-risk environment when possible.
The Menu Manager in your TurboHelp admin area gives you complete control over the navigation menus on your site. You can create new menus, add internal or external links, assign icons, and even control which user groups can see specific menu items.
Getting to the Menu Manager
To access the menu manager, navigate to Admin > Settings > Menus page.
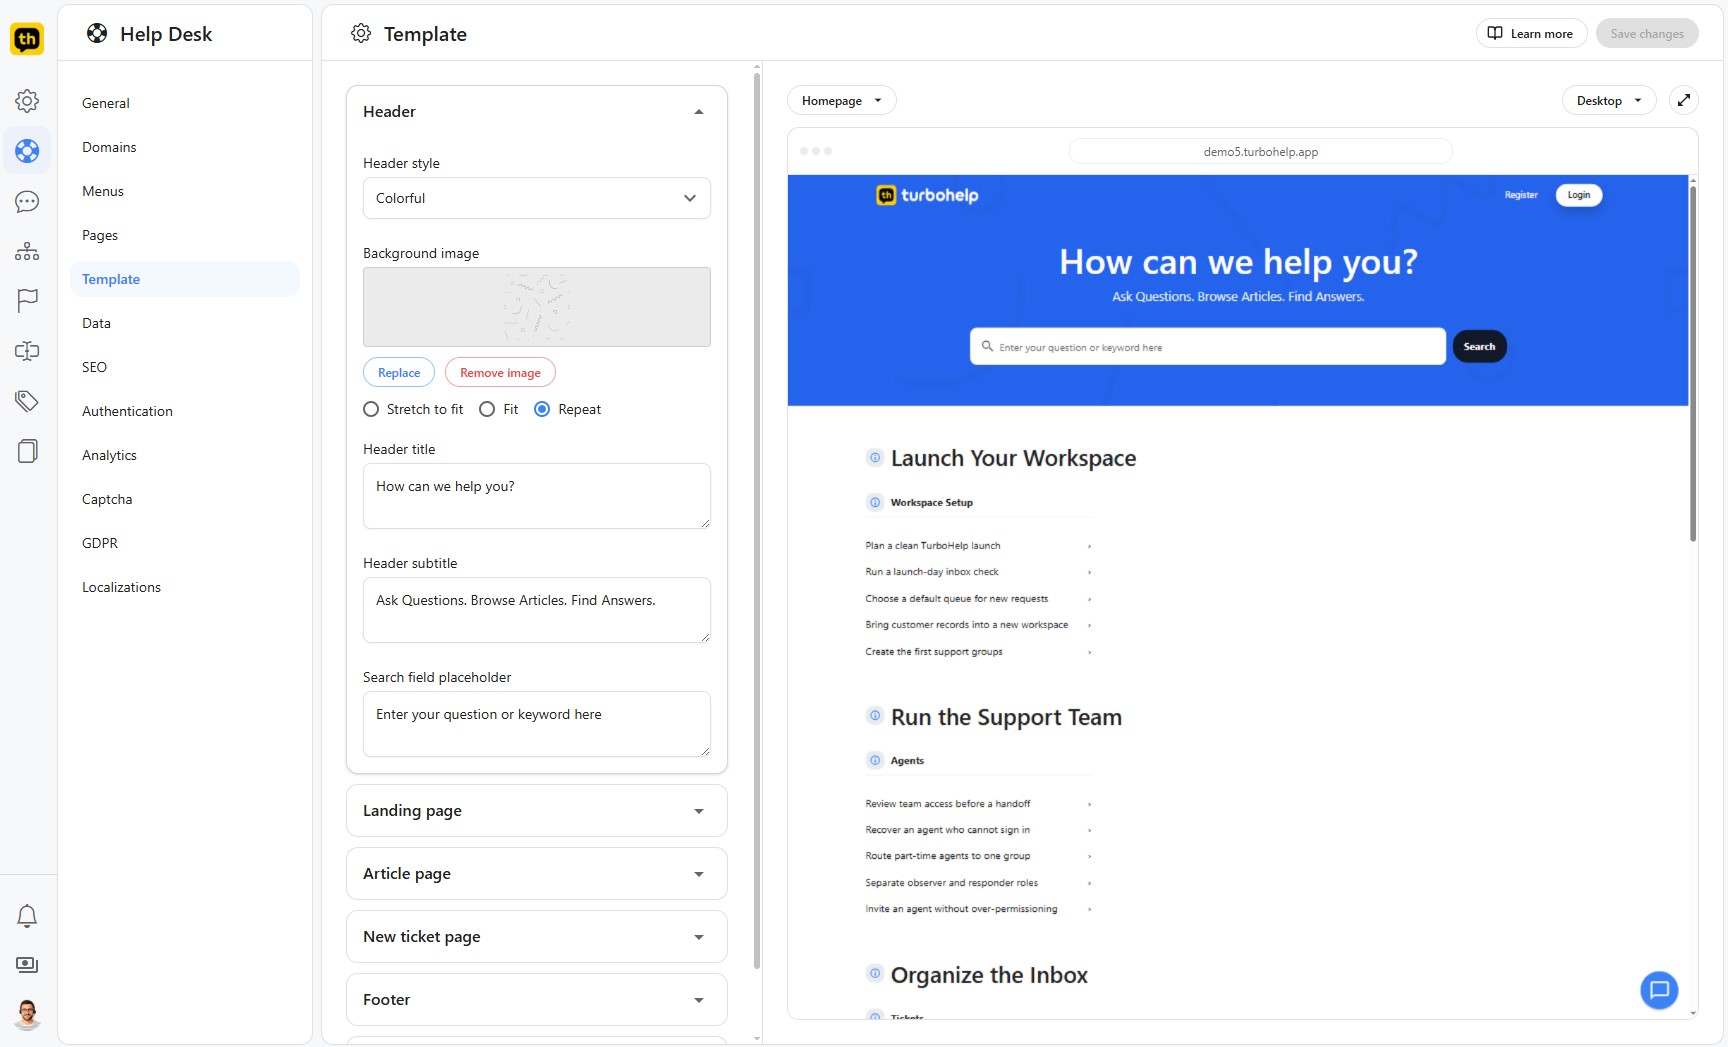
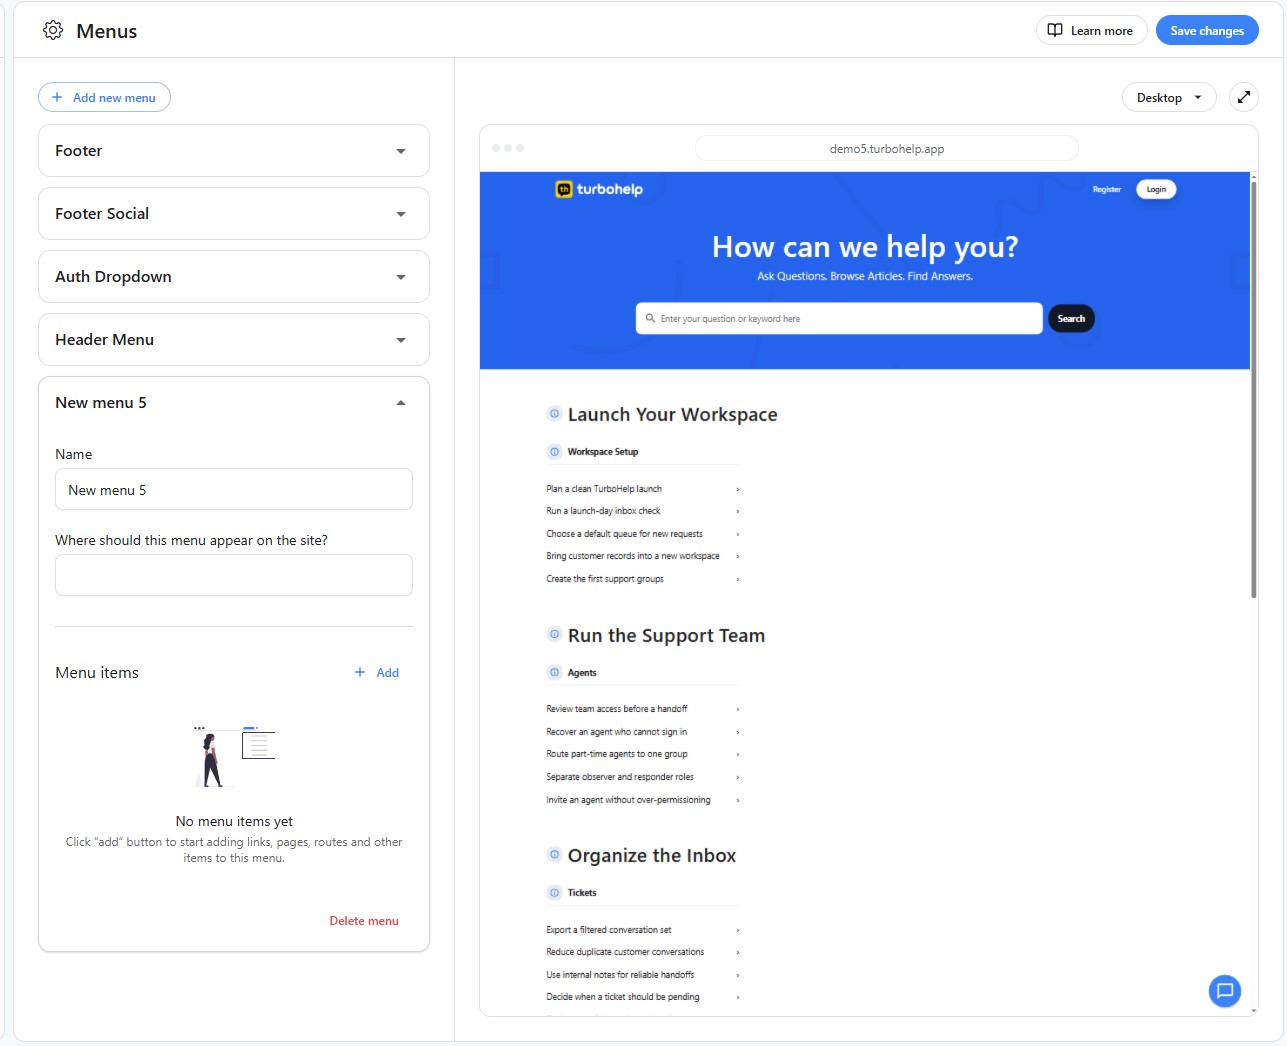
The main page is divided into two parts. On the left, you'll find the configuration options for your menus. On the right, you'll see a live preview of how the selected menu will appear on your help center.
Creating and Configuring a Menu
You can edit existing menus (like the Header Menu) or create a new one from scratch.
Create a New Menu: Click the + Add new menu button at the top.
Name: Give your menu a descriptive name for internal use (e.g., "Footer Links").
Location: Use the Where should this menu appear on the site? dropdown to select a position, such as the
headerorfooter.
Adding and Editing Menu Items
Menu Items are the individual links within a menu. You can add new items, edit existing ones, and reorder them easily.
Add an Item: Click the + Add button next to the "Menu Items" list.
Edit an Item: Click on any existing item in the list to open the Edit menu item panel on the right.
Reorder Items: Simply drag and drop menu items to change their order or to nest them under another item, creating a dropdown submenu.
When you add or edit an item, a configuration panel will appear with the following options:
Label and Icon
Label: This is the text that will be displayed for the link (e.g., "Dashboard", "Contact Us").
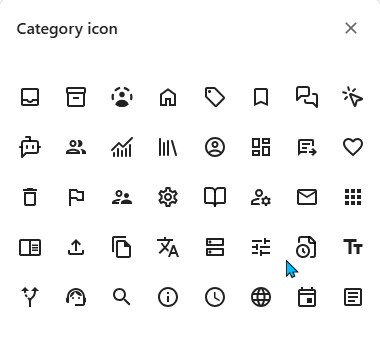
Icon: You can add a visual icon to your label. Click the edit icon next to the Label field to open the Icon Selector and choose the perfect icon for your link.
Type
This determines where the menu item will link to. You have three choices:
Site page: Links to an existing page within your TurboHelp application, like the "Tickets" page or the "Login" page.
Custom link: Links to any URL you provide. This is useful for linking to your main company website, a blog, or any other external page.
Custom Page: Links to a custom page that you have created within TurboHelp.
Link Behavior
The Open link in dropdown lets you choose whether the link opens in the same browser tab or a new one.
Visibility and Permissions
You can show or hide menu items based on a user's status. This is great for creating different navigation experiences for guests versus logged-in users, or for regular users versus agents.
Only show if user has role: Restrict the item's visibility to users with a specific role (e.g., "Agents").
Only show if user has permissions: Restrict visibility based on fine-grained permissions (e.g., only show a link to users who have permission to update conversations).
After configuring a menu item, click Save & close. Don't forget to click the main Save changes button at the top right of the page to apply all your modifications.
Best Practices
Change one major setting at a time and verify the result.
Keep admin-only settings limited to trusted users.
Revisit settings after product, policy, or brand changes.